How it's made
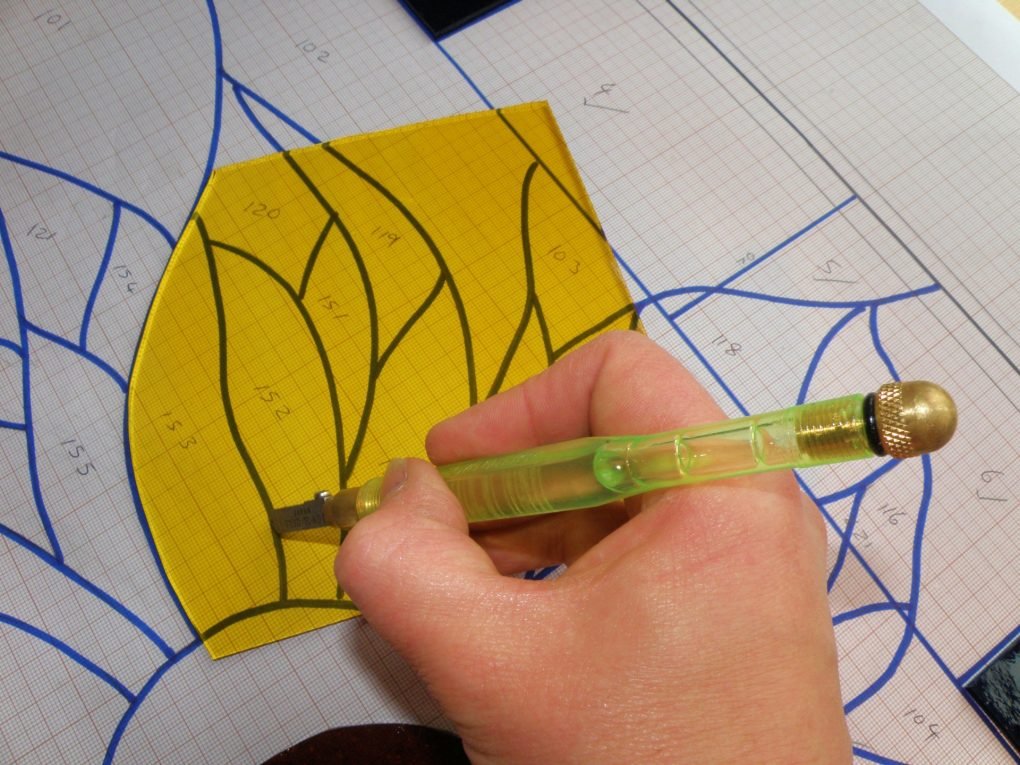
Each piece of glass is cut separately, by hand, then the soft, pliable lead is wrapped around each piece of glass to build up the design.
![](https://claireseelyglassdesign.co.uk/wp-content/uploads/2018/05/1-cutting-the-glass.-1020x765.jpg)
![](https://claireseelyglassdesign.co.uk/wp-content/uploads/2018/05/2-Building-up-the-design.-213x300.jpg)
![](https://claireseelyglassdesign.co.uk/wp-content/uploads/2018/05/3-Starting-to-lead-the-window.-1020x765.jpg)
Each piece of lead is also cut by hand, mitred to fit perfectly and pinned in place with old fashioned horseshoe nails.
![](https://claireseelyglassdesign.co.uk/wp-content/uploads/2018/05/4-cutting-the-lead.-216x300.jpg)
![](https://claireseelyglassdesign.co.uk/wp-content/uploads/2018/05/7-Soldering-each-joint.-1020x811.jpg)
![](https://claireseelyglassdesign.co.uk/wp-content/uploads/2018/05/8-Cementing-the-soldered-panel.-1020x765.jpg)
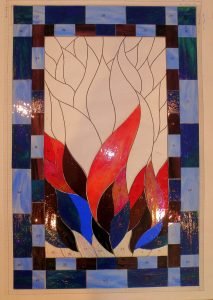
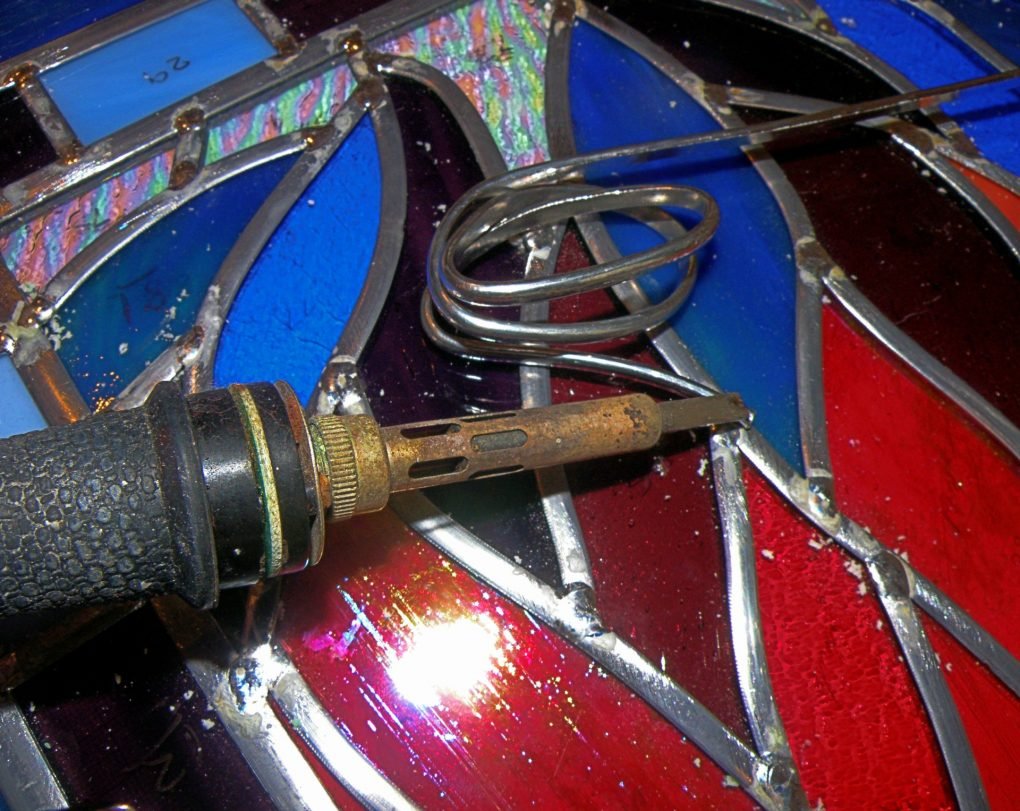
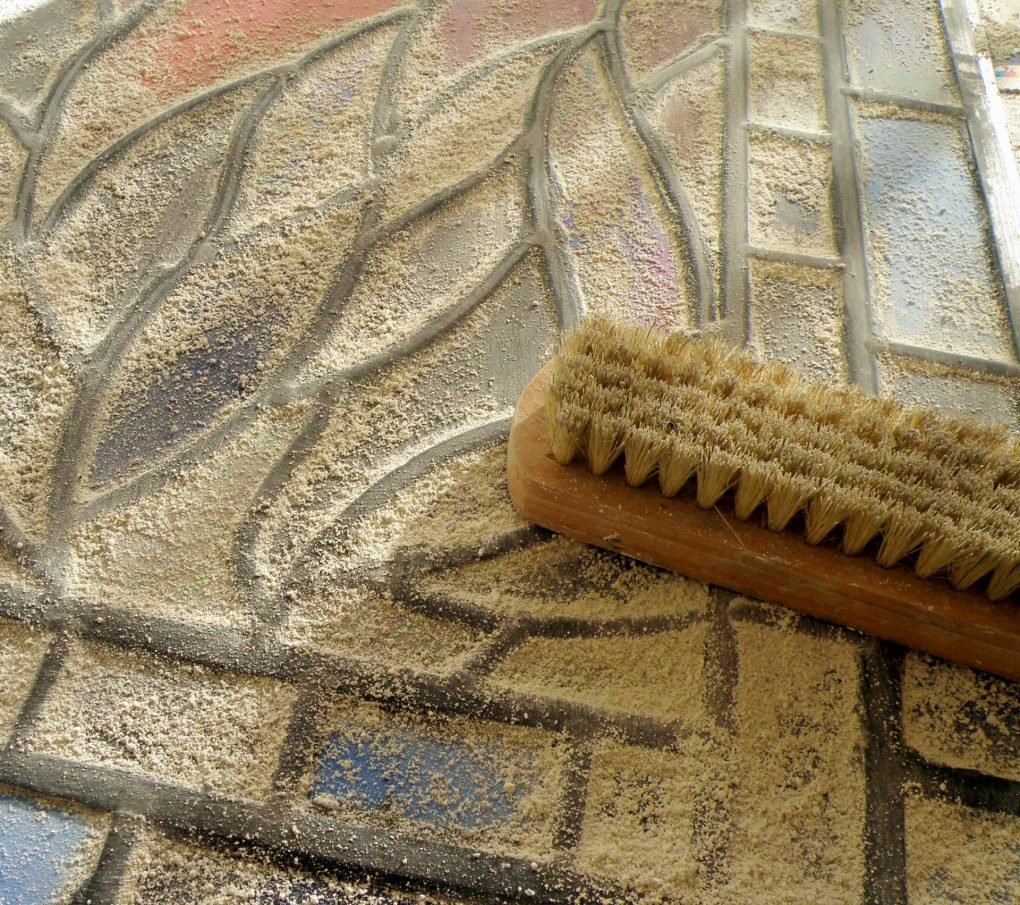
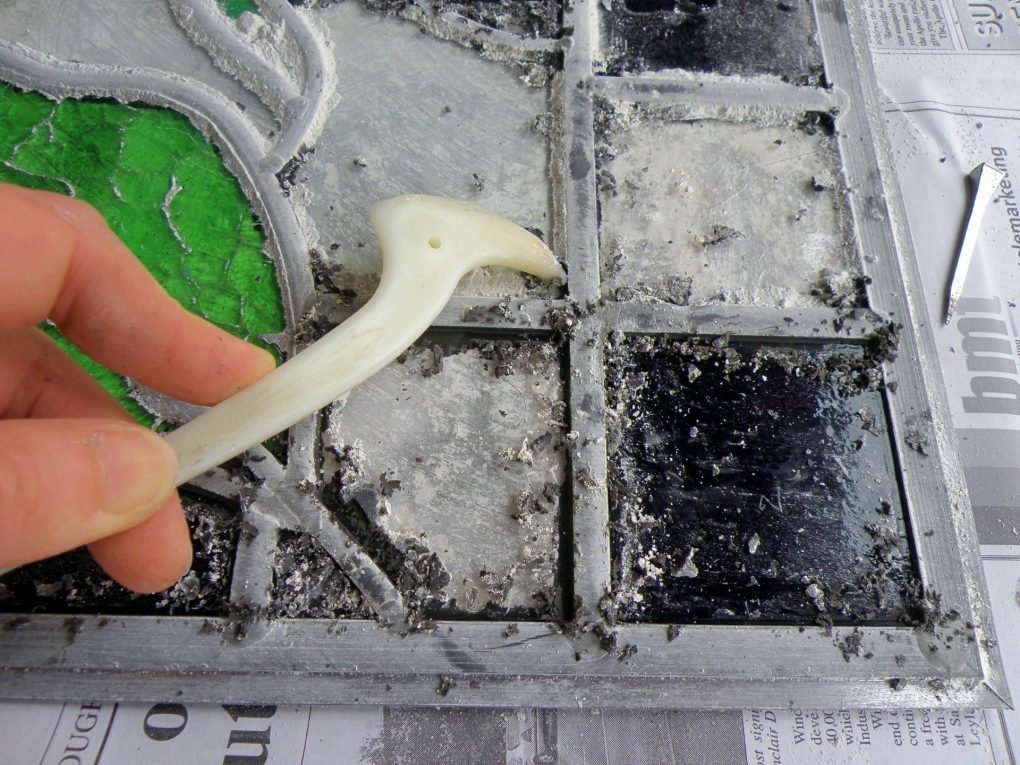
The panel is soldered at the points where the lead meets and then cemented which makes it strong and waterproof.
![](https://claireseelyglassdesign.co.uk/wp-content/uploads/2018/05/9-Applying-whiting-powder-to-dry-the-cement.-1020x905.jpg)
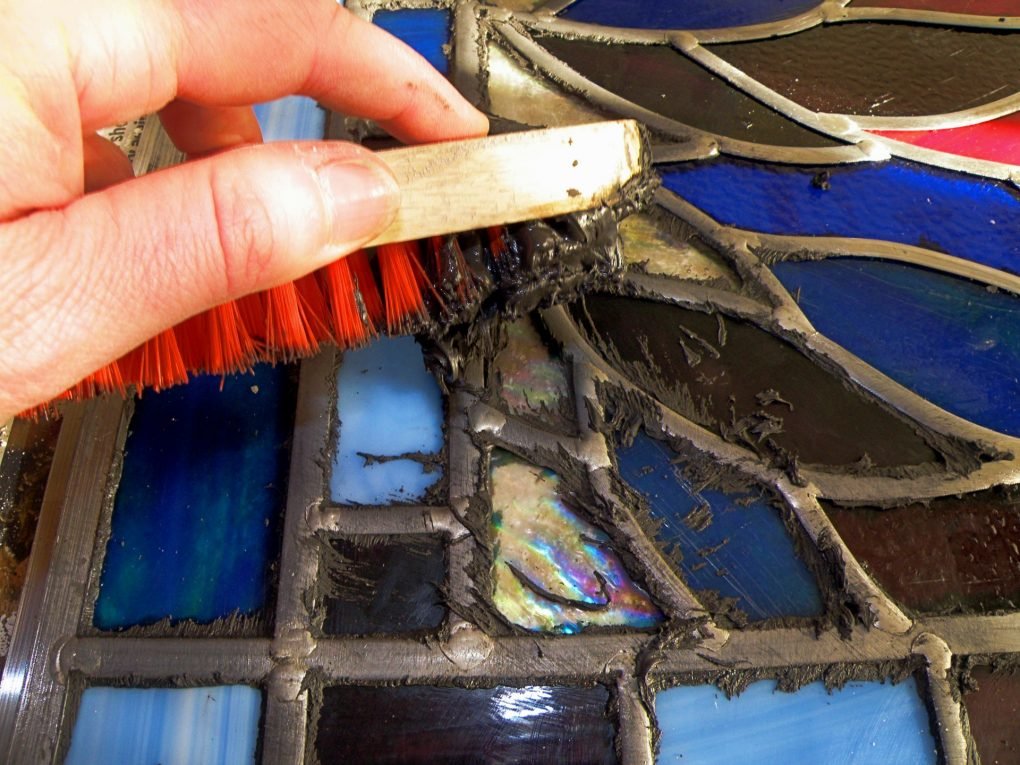
The cement drying time depends on the size of the panel and the ambient temperature. Once it’s dry, the glass is cleaned and the final step of applying a darkening polish to the lead.
![](https://claireseelyglassdesign.co.uk/wp-content/uploads/2018/05/10-First-stage-of-cement-cleaning.-1020x765.jpg)